
SAP HCM Tip: Creating Basic Integrations with the SuccessFactors Integration Center
March 31, 2016
The SuccessFactors Integration Center is a new utility that allows non-technical users to build, deploy, and monitor simple file-based integrations to third parties. The SuccessFactors Integration Center offers the following features:
Utilizes a guided wizard-like process to step through the creation of an integration such as a scheduled report or interface to an internal or external party
Pre-configured integrations are available for use, or new integrations can be created from scratch
Once built, files can be manually executed or scheduled to be sent to an SFTP server location
A few housekeeping items about the SuccessFactors Integration Center:
It is intended for basic integrations
Currently only outbound integrations/interfaces are supported
Integration Center must be activated in Provisioning and turned on in Admin Center
You will need an SAP Community S-user ID and password to log into the Integration Center
The steps to create a new Integration are as follows:
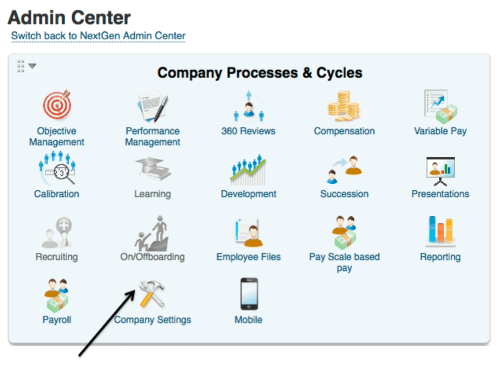
Step 1: From the SuccessFactors Admin Center, select Integration Center from the Company Settings icon.
Step 2: Select ‘My Integrations’ from the Integration Center screen

Step 3: Click Create -> New Integration to build a new integration from scratch.

Step 4: Select a starting table for your integration (this will be the starting reference point for your integration) along with the fields to include from that starting entity. (Note: On a subsequent screen, you’ll have the opportunity to select additional tables and fields to include in your integration.) Click Next to advance to the next screen.

Step 5: Enter a name for your new integration, along with a description, an output file type (CSV, delimited, fixed field length or XML), delimiter type (if applicable), header type (none, simple or advanced), footer type (no footer or advanced filter) and Unix Line End (end with only new line or end with carriage return and new line). Click Next to advance to the next screen.

Step 6: Format your integration output and click Next to advance to the next screen:
Add more fields (from other tables)
Change the display order of fields
Add Sorting and Filtering criteria
Change field labels
Add basic calculations

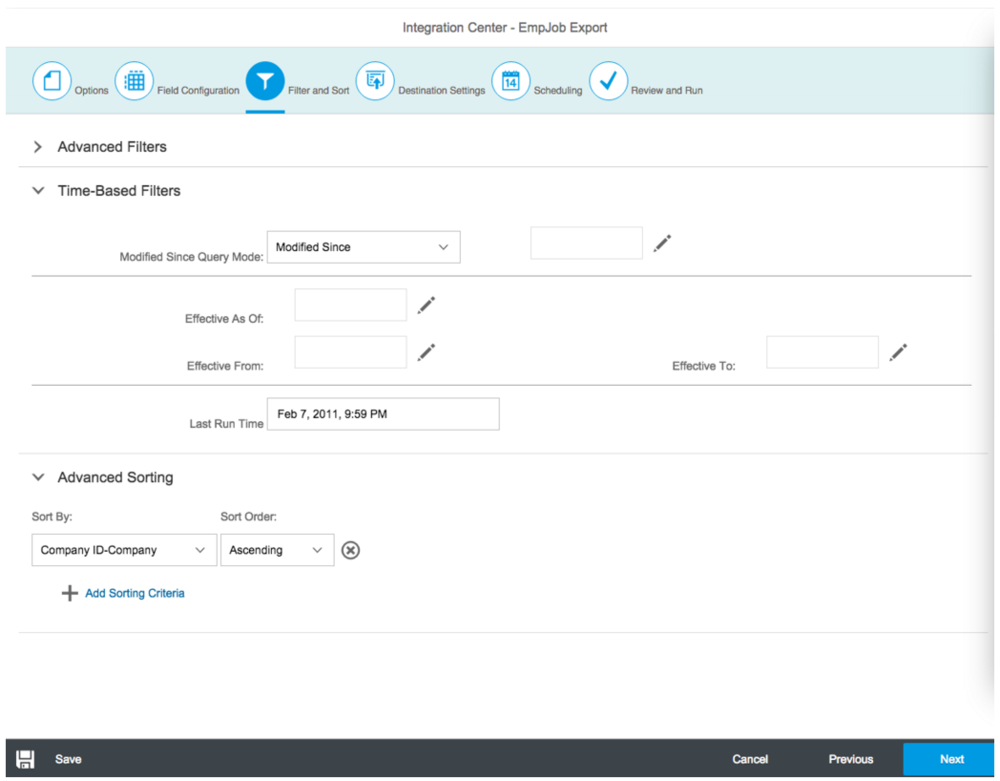
Step 7: Enter filtering criteria, ie exclude terminated employees or only include data modified since last run time. Also enter sorting criteria as applicable (ie by ascending employee ID or hire date).
Step 8: Enter information for the destination file server (SFTP server address, port, user name and password) along with the file and folder settings (file name prefix, file folder, date format, file extension and file encryption option (note, if encryption is selected, the encryption key specified in Provisioning for scheduled jobs will be utilized. Click Next to proceed to the next screen.

Step 9: Enter the job scheduling information, as applicable: frequency, days and times to run the integration, end date as applicable, and an email address where a copy of the file may be sent.

Step 10: Review your settings and either run the file immediately (Run Now) or save the scheduled run (Set Schedule).

Step 11: The new integration is now built and scheduled. Note, it is recommended to generate and send test files to check the file layout, selection and processing logic as well as to test the encryption.